How To Create A Bulb Lasagne
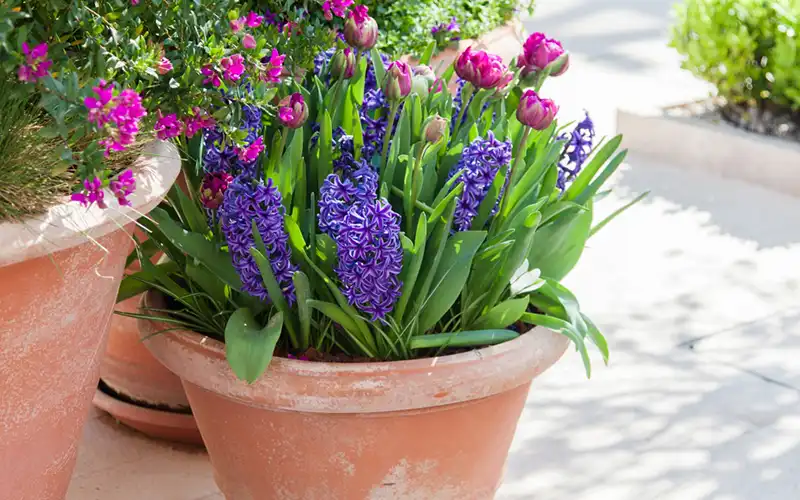
Bring your garden to life this spring with a stunning display that blooms for months! Our simple bulb lasagne method layers bulbs in one pot so you enjoy wave after wave of colour – from early snowdrops to late tulips – all with minimal effort and maximum impact.
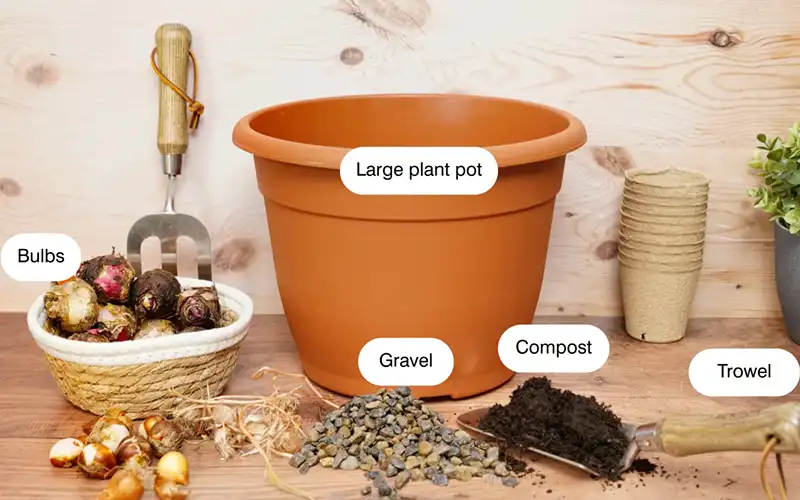
What You’ll Need
- A deep container or pot with drainage holes
- Multi-purpose compost
- Gravel or small stones
- A trowel
- Selection of bulbs (early, mid, late blooming)
Steps
Prepare the container
- Ensure your pot has drainage holes.
- Place some gravel or stones at the bottom to aid drainage.
- Add a base layer of compost (about 15-20cm depending on pot depth).
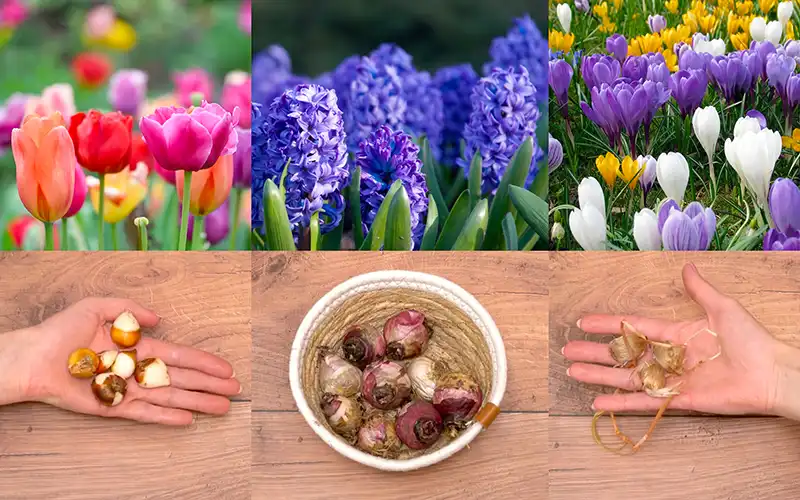
Select your bulbs & layering order
- Choose bulbs that bloom at different times, so you get a succession of flowers.
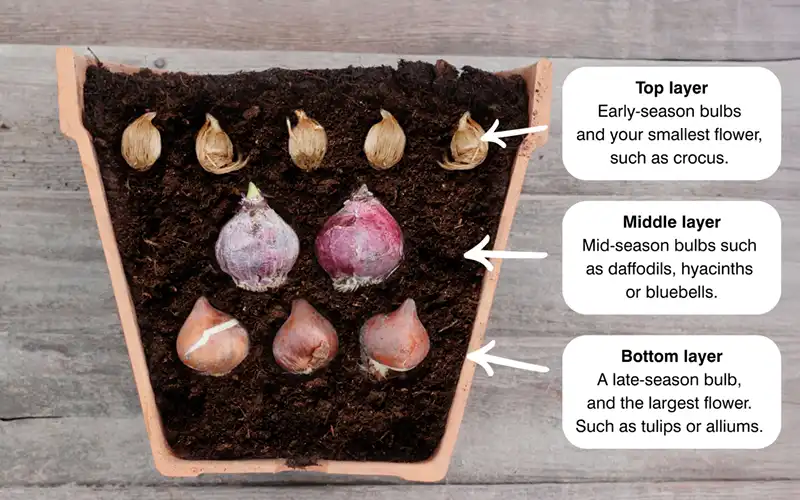
- The deepest / largest / latest flowering bulbs go in the bottom layer.
- The smallest / earliest flowering bulbs go nearest the top.
First (bottom) layer
- Place the bulbs (pointy end up) spaced out so they don’t touch each other or the pot walls.
- Cover them with compost, enough so they’re fully covered.
- Lightly firm the compost around them.
Additional layers
- Cover each layer of bulbs with 5cm of compost.
- Continue until you reach your final (top) layer.
Final topping
- Fill the pot with compost up to about 2cm below the rim.
- Gently press/firm down to settle.
Watering & Placement
- Water the pot generously but gently to settle soil and initiate root contact.
- Place the pot in a sunny location.
- Keep the compost moist (not waterlogged) during root establishment and dry spells.
Aftercare
As bulbs bloom and then fade, you can decide whether to remove spent foliage (if you’re treating it as a single show) or let leaves yellow naturally (if you want future flowering).
If leaving foliage, let it photosynthesise before removing.
In cold climates, consider protecting pots from freezing (e.g. by raising off ground or moving under shelter e.g. a shed or garage).